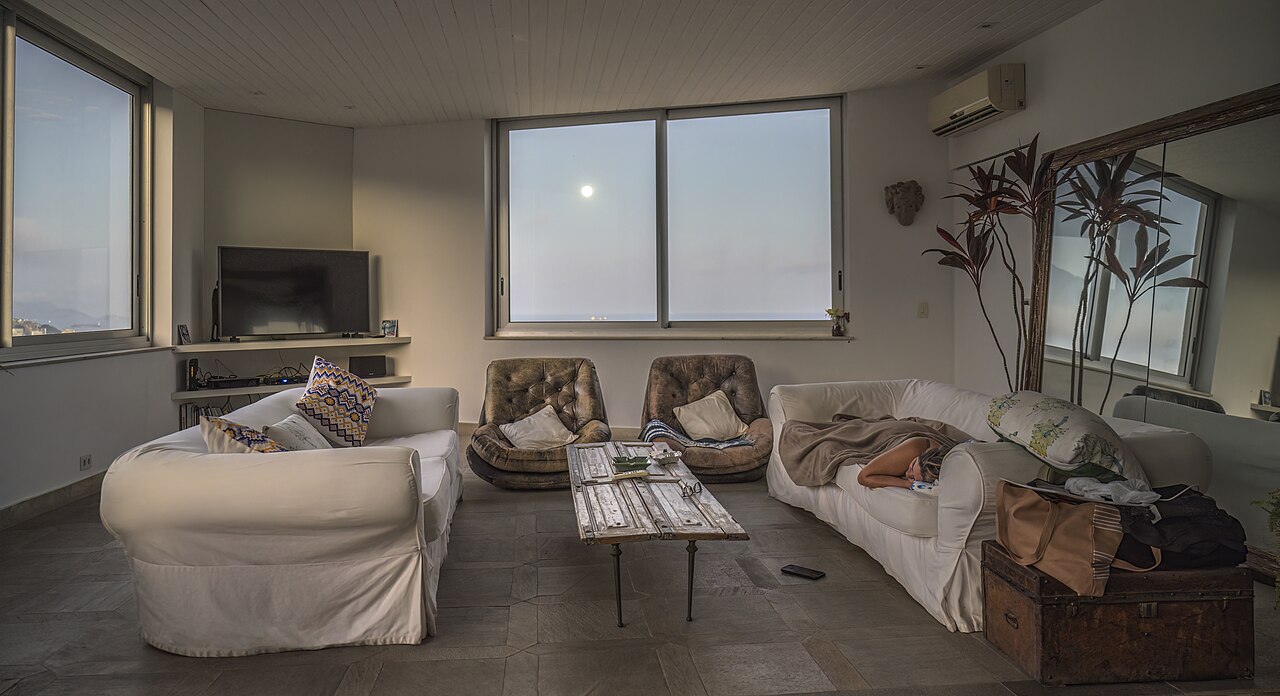
Windows are the most underused surface in a small home. A flat's windows are often its largest feature, and at Christmas they can carry the whole festive look — snowflakes, stars, a winter village, or a simple painted greeting — without taking a single centimetre of floor space.
The best part for renters is that window paint is temporary by design. It washes off with warm water in January, leaves no marks, and needs no permission from a landlord. These ideas are ordered from the easiest (ten minutes, no skill needed) to the most ambitious (a full painted scene), so pick the level that suits you.
What to paint with
You have four good options, and each suits a different style. Snow spray (artificial snow in a can) is the easiest — spray through a stencil or freehand for instant frost. Window markers or chalk markers give clean lines and wipe off easily; white is classic, but gold and red markers look wonderful too. Tempera paint (the washable paint used in schools) is best for bigger scenes and proper colours, and it washes off with warm water. Window clings and decals are not paint, but they are the zero-mess option — peel on, peel off, reuse next year. For a first attempt, start with a white chalk marker and snow spray: they are cheap, forgiving, and easy to remove.
12 ideas, easiest first
- Snowflakes in the corners. Paint or spray a cluster of snowflakes in the top corners of the window, denser at the edges and fading towards the middle. It looks like frost forming, it takes ten minutes, and it frames the view instead of blocking it.
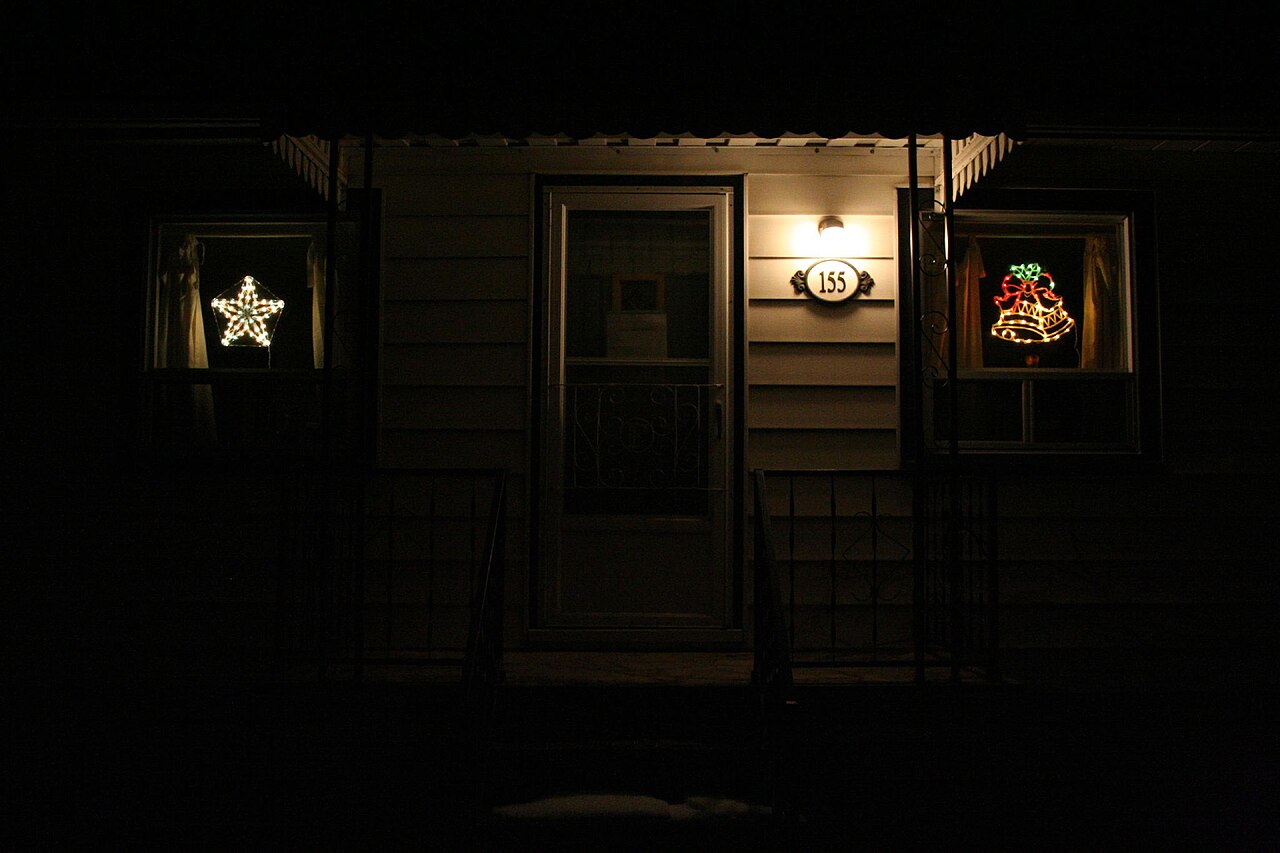
- A simple star. One large star in the centre of the window, painted in white or gold. A child can draw it. From the street at night, with the lights on behind it, it glows beautifully.
- Write a greeting. "Merry Christmas", "Joy", or "Happy Holidays" in large hand-lettered script across the glass. Imperfect handwriting looks better than perfect — it looks human and handmade, which is the point.
- Paint the frame, not the middle. Decorate only the edges of the window — a border of holly leaves, berries, or snow along the frame — and leave the centre clear so you can still see out. This is the best option if your window is your main source of daylight.
- A row of small trees. Paint a row of simple triangle trees along the bottom of the window, in different heights. Add a dot of gold on each one as a star. Simple, charming, and very hard to get wrong.
- Snowy rooftops along the sill. Paint a row of little rooftops with snowy tops along the bottom edge, like a tiny village. Add a few lit windows in gold marker. From inside, it looks like a village on your windowsill.
- Stars and moons. A scattering of stars and a crescent moon across the top half of the window. At night, with the room lights on, the painted stars glow against the dark glass — and the real sky does the rest.
- A wreath on the glass. Paint a circular wreath directly on the window with green leaves and red berries, and hang a real bow in the centre. It is the painted version of a door wreath, and it works on windows that cannot hold a hook.
- Reindeer and sleigh silhouette. A simple black or white silhouette of a reindeer — or the whole sleigh — across one corner. Silhouettes are forgiving to paint because there is no detail, only shape, and they look striking from the street.
- A winter scene for the big window. If you have one large window, paint a full scene: a tree, a snowman, a house with a lit window, falling snow. Work from the back (the sky) to the front (the tree), and keep the colours to three — white, green, and one red or gold accent.
- Let the children paint a pane. Give each child one pane of a multi-pane window and let them paint whatever they like. It is the most loved window on the street, and it is the one you will photograph every year.
- Paint the glass, light the room. Whatever you paint, remember the second half of the trick: a string of fairy lights or a candle behind the window at night turns a daytime painting into a glowing picture after dark.
How to paint a window, step by step
1. Clean the glass. Wash the window and let it dry completely — paint will not stick to dusty or greasy glass. 2. Sketch lightly. Plan your design on paper first, then mark the main lines on the glass with a white chalk marker. 3. Paint from the outside in. If you are painting a scene, start with the background and work forward. 4. Step back often. Window paintings are viewed from across the room and from the street — check it from a distance, not from six inches away. 5. Fix mistakes with a damp cloth. Chalk marker and tempera wipe off while wet, so do not be afraid to start a line again.
Renter-friendly and easy to remove
Everything here is designed to come off. Chalk markers wipe away with a damp cloth. Tempera paint washes off with warm water and a little washing-up liquid. Snow spray usually wipes off, but test a small corner first — on very old or damaged glass it can be stubborn, so use it on modern double glazing. Never use permanent paint, glass paint meant for crafts, or anything oil-based on a rented window. And never paint the outside of a window you cannot reach safely — paint from inside, and let the glass do the work.
What to avoid
Designs for every window size
Not all windows are equal, and the design should fit the glass you have. A small window (like a kitchen or bedroom window) suits one simple motif: a star, a small wreath, or a cluster of snowflakes in one corner. Do not try to fit a scene on a small pane — it will look cramped. A large window can carry a full scene with a tree, a snowman, and falling snow, because there is room for the eye to travel. Multi-pane windows are the easiest of all: paint one small design per pane — a star here, a tree there, a snowflake in the next — and the window becomes a set of little pictures. A wide, low window suits a horizontal design like a village skyline or a row of trees along the sill. And a window with a great view should be painted lightly — a border and a few stars — because the view outside is already the decoration.
When to paint, and when to take it down
Paint your windows in late November, when the Christmas feeling has properly started but the days are still long enough to paint in daylight. The paint will last the whole season if the glass stays dry — avoid painting on a day when condensation is running down the inside of the glass. Take the painting down in the first week of January: warm water, a cloth, and ten minutes per window. If you painted with tempera, it will come off in satisfying sheets. Keep a photo of your window before you wash it off — it is the kind of thing you will want to copy, or beat, next year.
Do not paint the whole window solid — you will lose your daylight for six weeks and the room will feel smaller. Do not use glitter glue or anything with adhesive on glass; it is miserable to remove. And do not paint windows in a room where condensation forms heavily (usually the kitchen or bathroom) — the paint will run. Living room and bedroom windows are the best canvases.
Frequently asked questions
Is window painting renter-friendly?
Yes, if you use the right materials. Chalk markers, tempera paint, and snow spray are all temporary and wash off with water. Never use permanent or oil-based paint on a rented window.
What is the easiest Christmas window painting for beginners?
Snowflakes in the corners with snow spray or a white chalk marker. It takes ten minutes, needs no drawing skill, and looks good from inside and outside.
How do I remove Christmas window paint in January?
Chalk marker wipes off with a damp cloth. Tempera paint comes off with warm water and a little washing-up liquid. Snow spray usually wipes off too — test a small corner first.
Will window painting block the light?
Only if you paint the whole window. Paint the corners, edges, or bottom third and leave the centre clear, and you will keep almost all your daylight.
Can children help paint Christmas windows?
Yes — it is one of the best family Christmas activities. Give each child a pane or a corner, use washable markers or tempera, and expect a joyful mess rather than a perfect picture.